


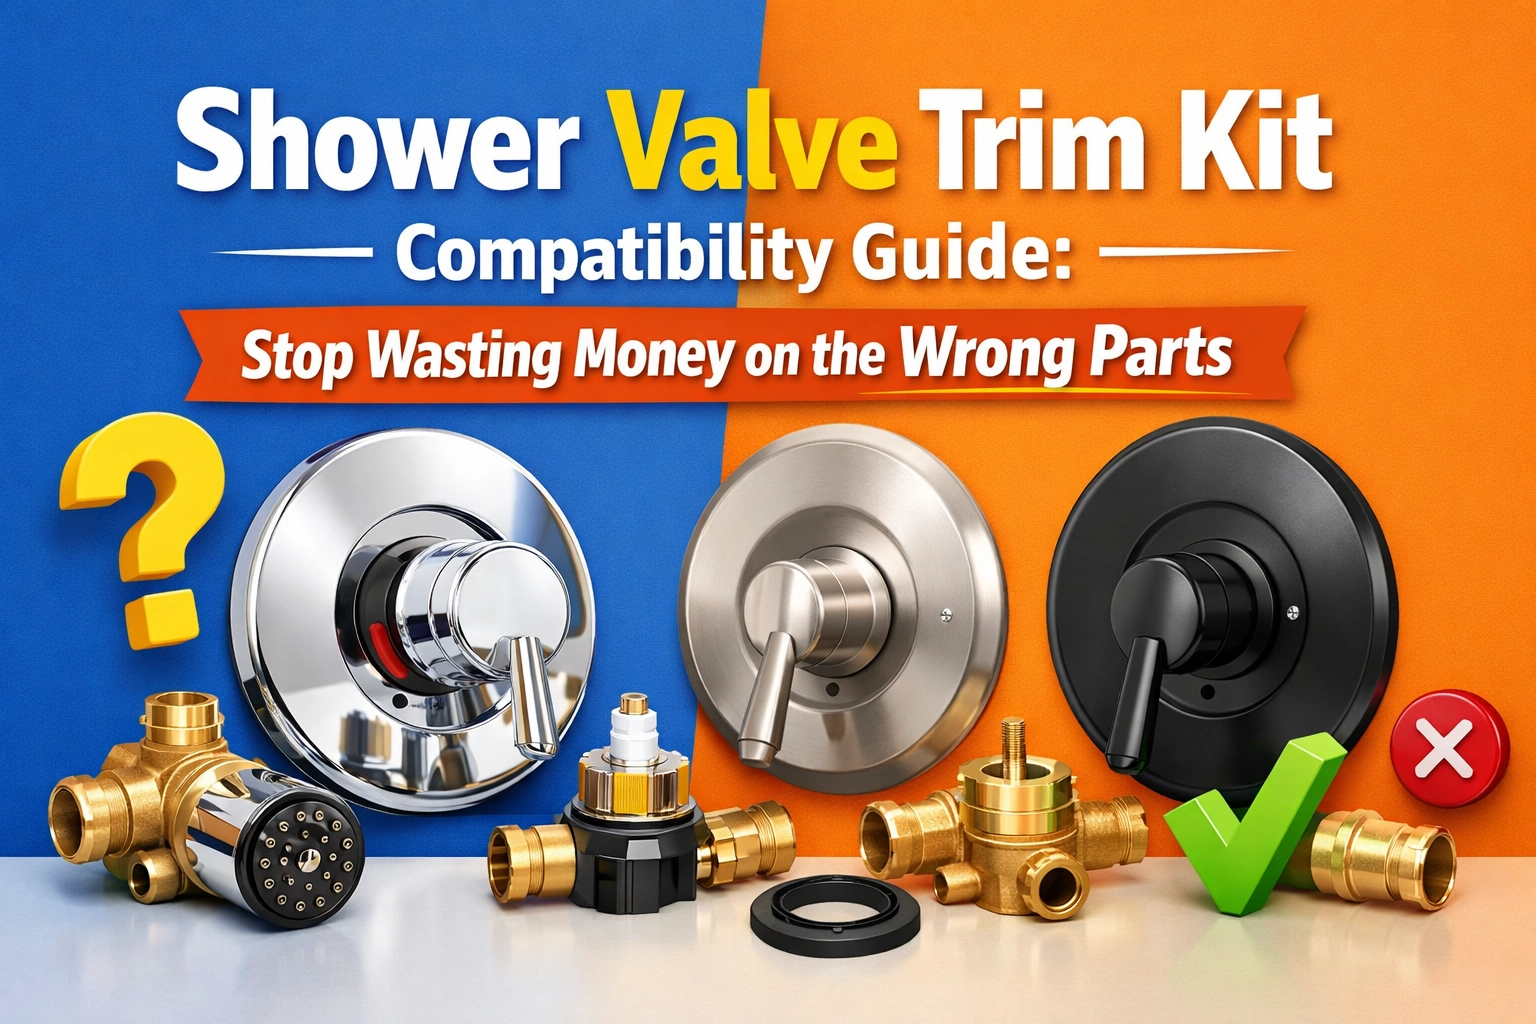
You walk into the hardware store, grab a shower trim kit that looks nice, head home, and start installing it. Two hours later, you’re staring at a leaking valve that won’t seal properly. Sound familiar?
Here’s the thing: shower trim kits aren’t universal. Not even close. Buying the wrong one is one of the most common (and frustrating) mistakes DIYers and contractors make. It wastes money, time, and a whole lot of patience.
This guide will help you pick the right shower valve trim kit the first time: so you can stop returning parts and actually finish the job.
Let’s get one thing straight: your shower valve and trim kit need to match. They’re designed as a system. When they don’t line up, you run into problems like:
Different brands: like Moen, Delta, Kohler, and Pfister: design their valves with specific cartridge systems, screw placements, and handle mechanisms. A Moen trim kit won’t fit on a Delta valve. Period.
Even within the same brand, older valve models use different trim kits than newer ones. That’s why figuring out exactly what you have is step one.

Before you buy anything, you need to know what valve you’re working with. Here’s how to figure it out without tearing apart your whole bathroom.
The escutcheon is that round or square decorative plate around your shower handle. Look for a brand name stamped or printed on it. Common brands include:
If there’s no visible brand name, you might need to remove the handle and escutcheon to check the valve body itself. The brand is usually stamped right on the metal.
Once you remove the handle, check where the screws hold the escutcheon in place. The position matters because different valve types use different screw patterns.
For example, some Moen valves have screws at the 2 o’clock and 7 o’clock positions. Others have them at 5 o’clock and 7 o’clock. This small detail tells you which valve generation you have: and which trim kit you need.
Pay attention to how you control the water:
This tells you whether you have a standard valve, pressure-balancing valve, or thermostatic valve. Each type needs its own compatible trim kit.

Moen is one of the most common brands you’ll run into, so let’s use them as an example. They’ve made four main single-handle valve types over the years:
Standard Valve (introduced 1960): Basic on/off functionality with simple temperature control. These are the oldest and most basic models.
Posi-Temp Valve (introduced 1985): More precise temperature and pressure control. This is what you’ll find in most homes built or remodeled in the last few decades.
Each generation accepts only its specific trim kits. You can’t mix and match, even if they look similar. That Moen trim kit from the big-box store might look perfect, but if it’s designed for a Posi-Temp and you have a Standard valve, it won’t work.
Other brands work the same way: they have multiple valve generations, and each needs its matching trim.
Let’s say you ignore all this and just grab a trim kit that “looks about right.” Here’s what you’re setting yourself up for:
Leaks: The cartridge won’t seal properly against the valve body, letting water seep behind your shower wall. This can lead to mold, rot, and expensive repairs.
Poor Performance: Your shower might drip constantly, have weak pressure, or fail to maintain consistent temperature.
Wasted Time: You’ll end up making multiple trips back to the store, taking apart your shower wall again and again, and probably saying some words you shouldn’t.
Wasted Money: Between buying the wrong parts, possibly damaging your valve during forced installation, and potentially hiring a plumber to fix your mistakes, the costs add up fast.
One contractor we talked to said he’s seen homeowners spend over $300 on wrong parts and extra labor: all because they didn’t take 10 minutes to identify their valve first.

Ready to do this right? Follow these steps:
Remove the handle and escutcheon. Look for markings on the valve body. Write down or photograph:
Most major brands have compatibility guides on their websites. You can enter your valve model and see exactly which trim kits work with it. Some even have visual identification tools where you answer questions about screw placement and handle operation.
If you’re still not sure, take clear photos of:
Then visit your local hardware store. At Jimenez Mr Discount, our team can help you match those photos to the right trim kit. We carry a wide selection at discount prices, so you’re not overpaying for the right part.
Before you check out, double-check the trim kit packaging. It should list compatible valve models. Make sure your model number is on that list.
Different brands have their own quirks:
Moen: Four main valve types, each with distinct trim requirements. Look for the screw pattern to identify which generation you have.
Delta: Uses either the 13/14 Series (older) or the 17 Series (newer). These are not interchangeable. The cartridge design is completely different.
Kohler: Offers both Rite-Temp and thermostatic valves. Make sure you know which you have: they use different cartridge systems.
Pfister: Often branded as Price Pfister in older homes. Valve identification can be tricky since they’ve changed ownership and branding over the years.
If you have a house built before 2000, there’s a good chance you have an older valve model. Don’t assume current trim kits will fit.

Here’s how to get the right part without breaking the bank:
Buy from a discount hardware store like Jimenez Mr Discount. We offer competitive prices on name-brand trim kits: often 20-30% less than big-box stores. Plus, we have free in-store pickup, so you can get your parts the same day without shipping costs.
Don’t cheap out on no-name brands. Off-brand trim kits might save you $10 upfront, but they often don’t seal properly or last as long. Stick with the manufacturer’s parts.
Consider upgrading your whole valve. If your valve is more than 20 years old and you’re already doing the work, it might make sense to replace the whole thing with a modern valve. Then you’ll have more trim kit options and better performance.
Keep your old parts. If you’re not sure about compatibility, buy the trim kit but keep your old one until you’ve tested the new one. Most stores (including us) allow returns on unused parts.
Some situations are better left to the pros:
A plumber can identify your valve in minutes and source the right parts. It costs more upfront, but it’s cheaper than water damage.
Picking the right shower valve trim kit doesn’t have to be complicated. Take 10 minutes to identify what you have, check compatibility, and buy the matching trim. You’ll save time, money, and a whole lot of frustration.
At Jimenez Mr Discount, we stock a wide range of shower valves and trim kits at prices that won’t make you wince. Stop by our store with photos of your valve, and we’ll help you find exactly what you need. Free pickup means you can grab your parts and get back to work the same day.
Don’t waste another dollar on the wrong trim kit. Do it right the first time.